High-level entities
High-level entities provide the foundation for exploring TON Blockchain, understanding and tracking operations. They are essential for identifying transactions and tracing data flow across the network.- Accounts — the primary entities representing actors on the blockchain.
- Addresses — unique identifiers for accounts, showing balances and activity in Tonviewer.
- Messages — instructions sent between addresses. In explorers, they reveal what actions are initiated and how they lead to transactions.
- Transactions — records of executed messages. Explorers display their details linked to a specific address.
- Blocks — containers of transactions. In explorers, they expose block metadata and configuration parameters, allowing you to trace activity and understand how the blockchain operates.
Reading traces
Traces
In Tonviewer, operations are visualized through traces. A trace is a directed acyclic graph (DAG) where:- transactions are nodes on an account’s address
- messages are edges between addresses


Using the UI
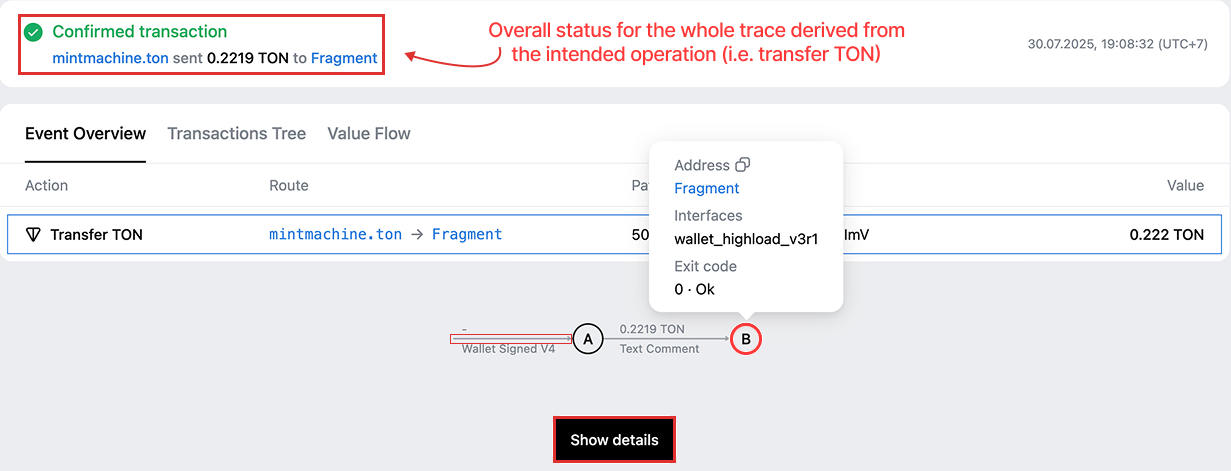
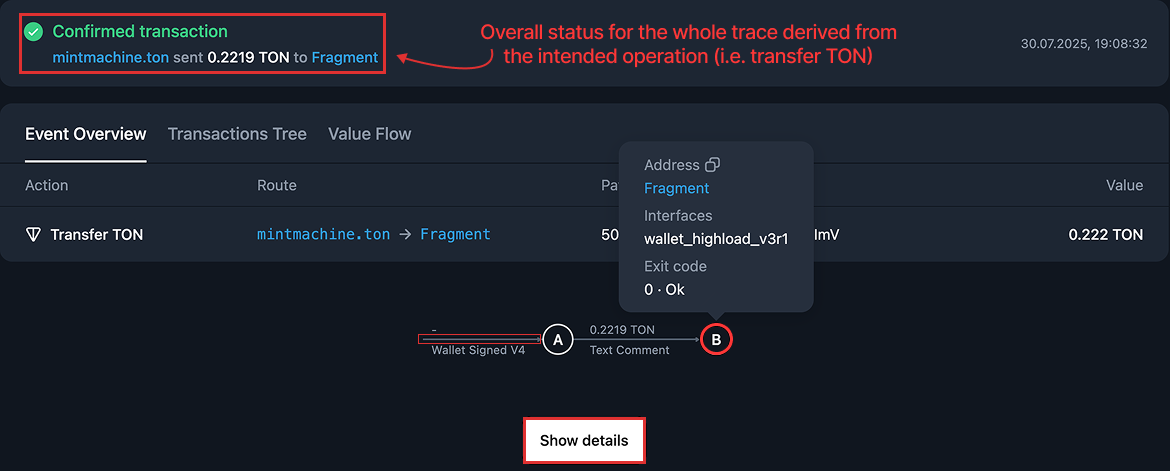
Tonviewer provides a visual interface for exploring traces:- Hover over a “node” to see details about the account where a transaction succeeded or failed.
- Hover over an “edge” to inspect the message contents.
- Use “Show details” to examine full transaction and message information.
The UI may change, but the approach to reading traces remains consistent.


Steps to read a trace
- Determine the operation
- Clarify accounts’ roles
- Read messages
- value — amount of TON or jettons transferred
- opcode — instruction type
- payload — instructions
- Check transaction phases
- Find the failure point
Failed use cases
The following examples illustrate traces where operations did not complete as intended, even when transactions appear successful. They demonstrate a general approach to reading traces and identifying the point of failure.Jetton transfer
Analyze a jetton transfer attempt.

- Determine the operation
- Clarify accounts’ roles
- A — sender’s wallet contract (mintmachine.ton), initiates the transfer.
- B — jetton wallet contract governed by the jetton master, holds the tokens and executes the transfer.
- Read messages
- A → B: jetton transfer message with 0.2 TON attached to cover execution fees.
- Check transaction phases
- Find the failure point
48 per jetton contract logic indicates that there isn’t enough gas to complete the transfer.
The attached TON was insufficient to cover execution and forwarding, so the contract aborted the transfer.
NFT transfer
Analyze an NFT transfer attempt.

- Determine the operation
UQDj…D0lN), the user’s wallet sends an external-in message to transfer an NFT.
- Clarify accounts’ roles
- A — the user’s wallet, initiates the transfer.
- B — the NFT contract at address
EQCo…gJdV, validates ownership and executes the transfer.
- Read messages
- A → B: NFT transfer message with 0.04 TON attached.
- B → A: bounce returning 0.036514 TON.
- Check transaction phases
401.
- Find the failure point
401 means that the sender is not the owner of the NFT.
Because the ownership check failed, the contract rejected the transfer and returned the unused funds to A.
DEX swap
Analyze a token swap attempt from DYX to pTON.

- Determine the operation
mintmachine.ton contract). An external-in message initiates the token swap attempt.
- Clarify accounts’ roles
- A — user’s mintmachine.ton account, sending the initial funds.
- B — user’s jetton wallet, holds the tokens.
- C — DEX jetton wallet, forwards tokens to the DEX.
- D — DEX smart contract executing the swap.
- E — jetton master (minter), authorizes token operations.
- Read messages
- A → B: 0.3 TON transferred via a jetton transfer.
- B → C: jetton internal transfer to the DEX wallet.
- C → D: swap request sent to the DEX contract.
- C → A: return of excess funds.
- D → E: request to the jetton master.
- E → D: reply with
exit_code: 962605456 (0x39603190).
- Check transaction phases
- Find the failure point
exit_code: 962605456 corresponds to Swap out token amount is less than provided minimum value.
This explains why, despite all transactions succeeding, the swap reverted: the output did not satisfy the minimum slippage tolerance.
Successful use case
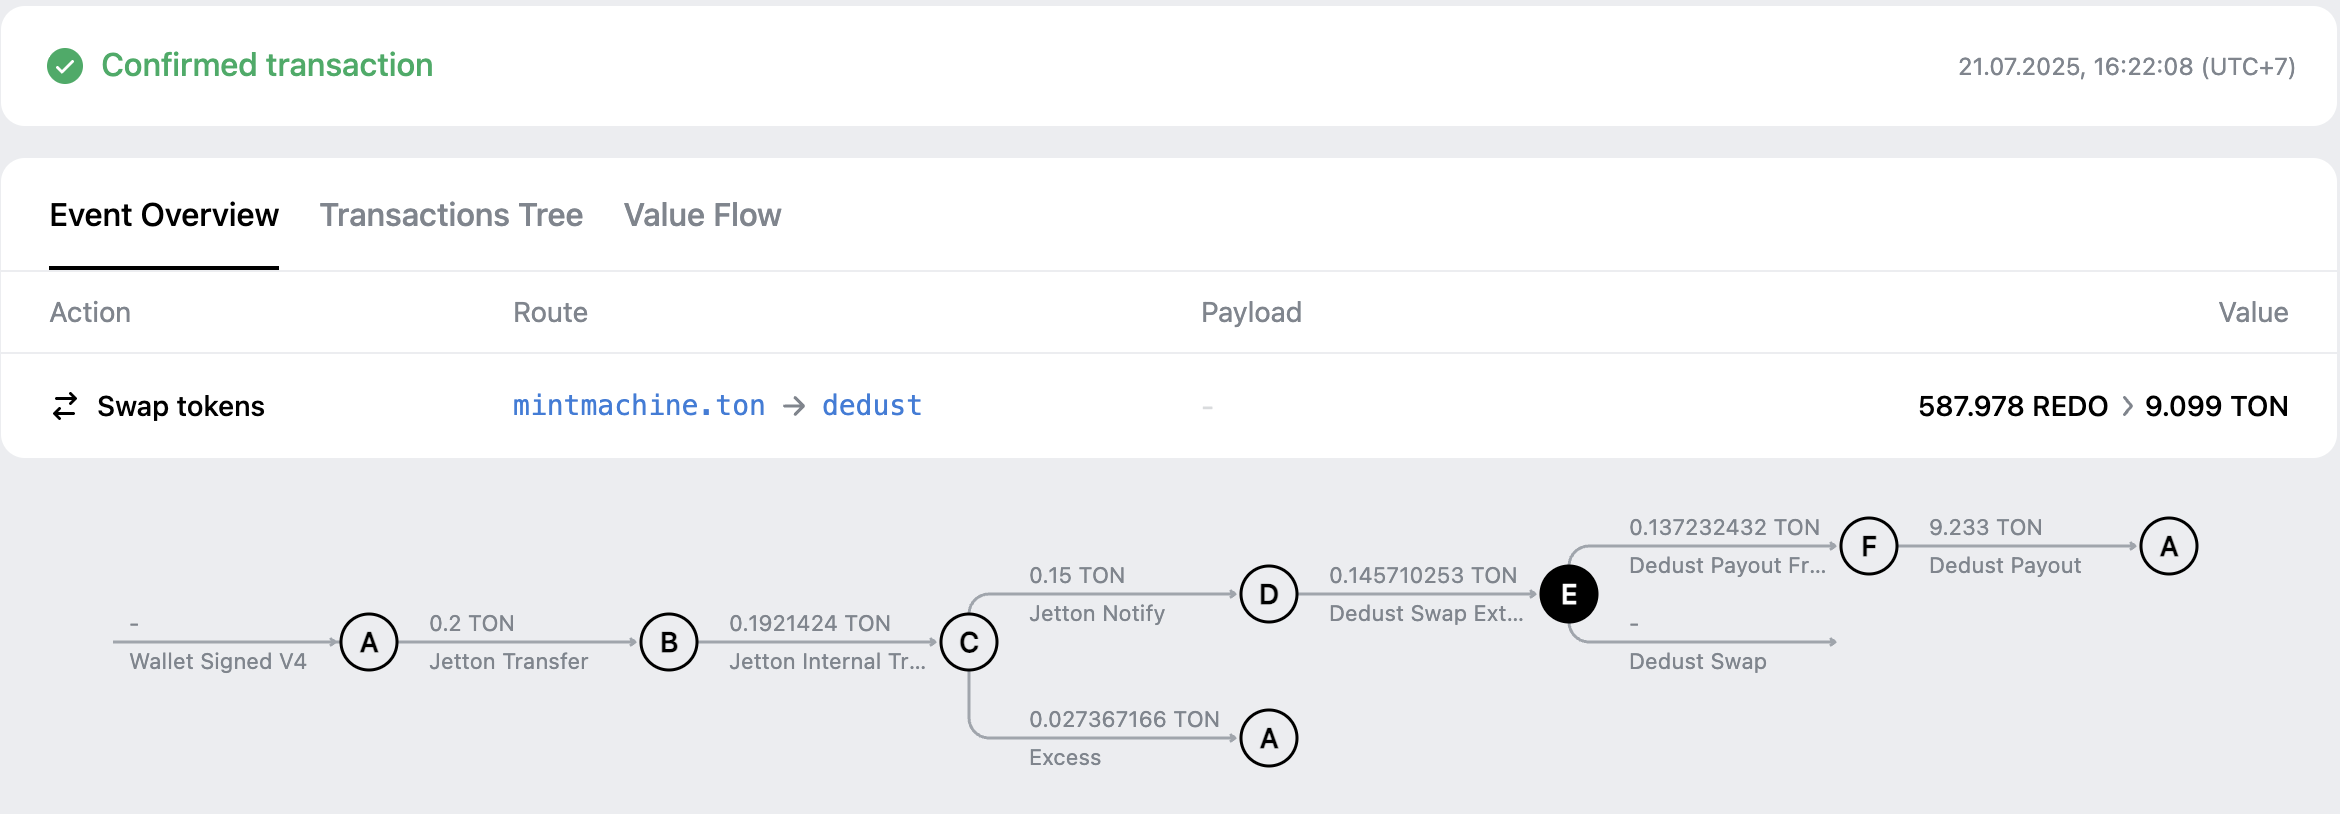
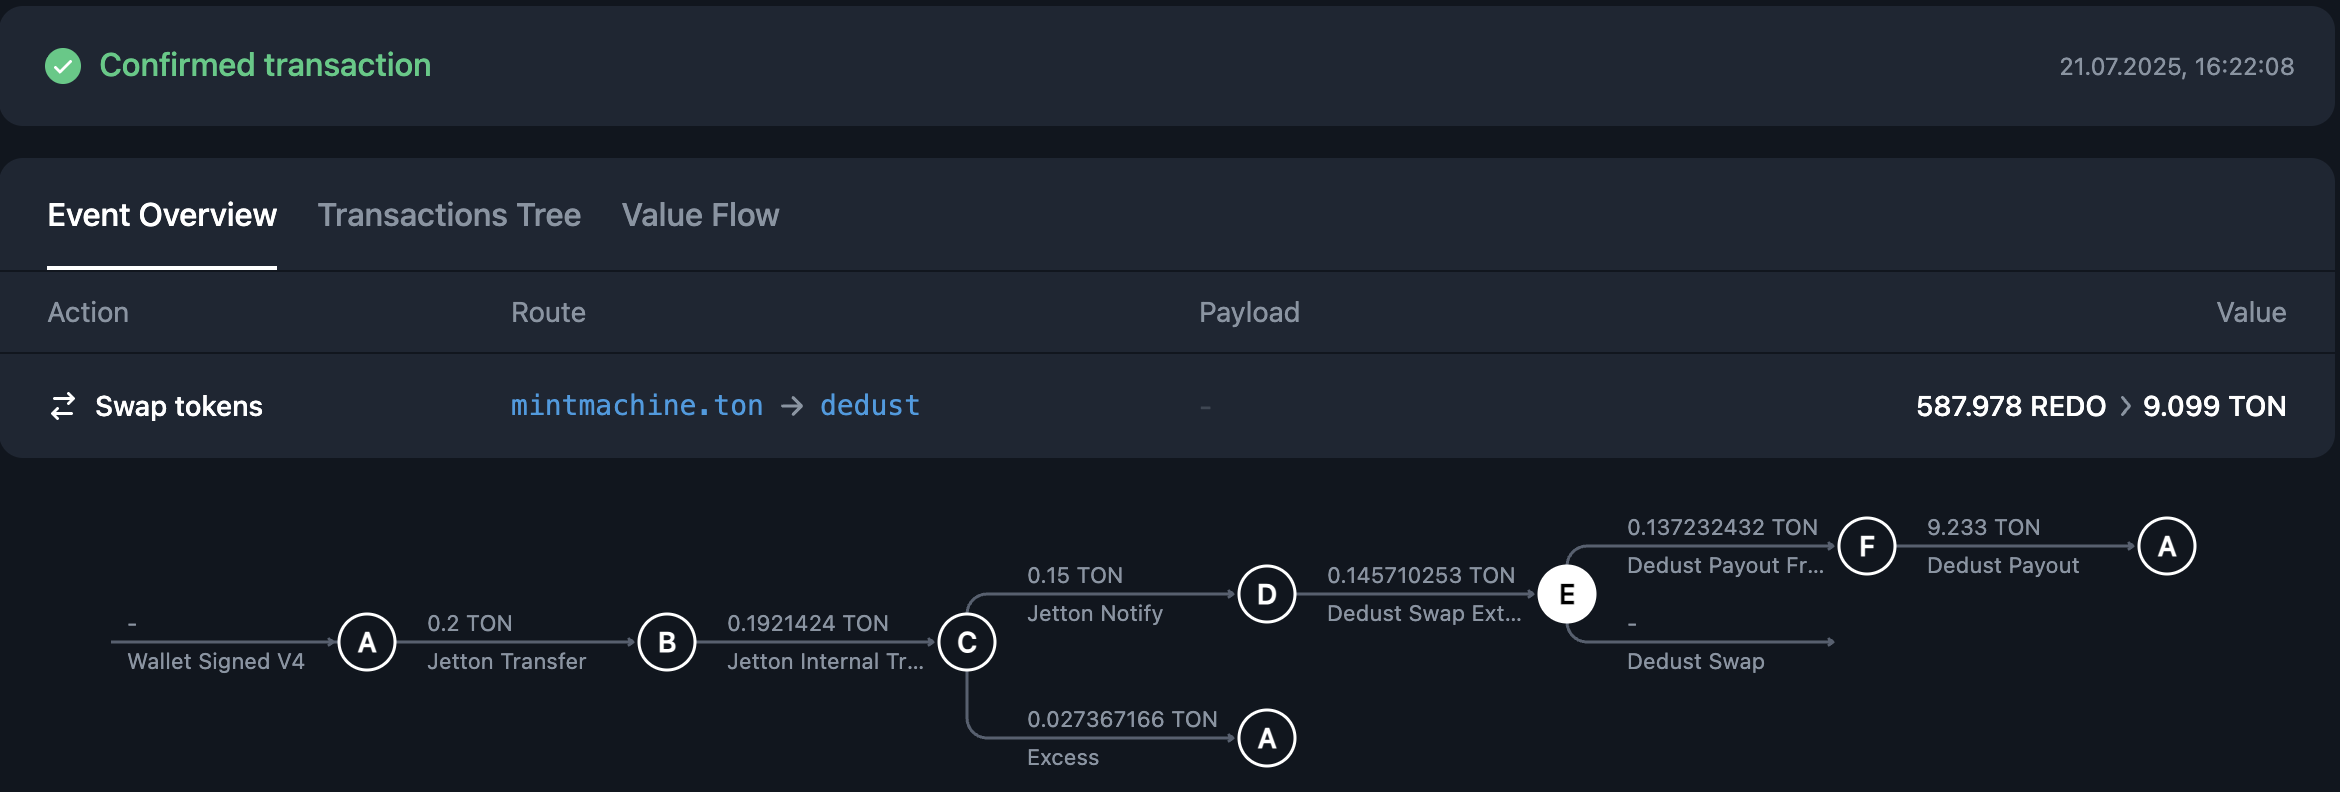
Analyze a token swap from REDO to TON.

- Determine the operation
- Clarify accounts’ roles
- A — mintmachine.ton account, provides initial funds for the swap.
- B — user’s jetton wallet, holds the tokens.
- C — DEX jetton wallet, forwards tokens to the DEX.
- D — DEX smart contract executing the swap.
- E — jetton master (minter), authorizes token operations.
- F — DEX payout account (mergesort.t.me), receives the swapped tokens.
- Read messages
- A → B: 0.2 TON transferred via a jetton transfer.
- B → C: internal jetton transfer to the DEX wallet.
- C → D: valid amount forwarded to the DEX contract for swap execution.
- C → A: return of excess funds.
- D → E: request to the jetton master (minter) to mint/settle token movements.
- E → external-out: issues an external-out message — confirmation that the operation succeeded.
- E → F: sends an internal message to the payout pool account.
- F → A: forwards the swap result to the initiator (
mintmachine.ton).
- Check transaction phases
0. There are no bounces, failed compute or action phases reported in the nodes.
- Find the failure point
Debugging with retracer
Sometimes, reading messages and transaction phases is not enough. A transaction may show successful compute and action phases, exit codes of0, and no errors in messages — yet still produce no effect on-chain.
In such cases, you need to trace the TVM execution path.
Retracer lets you replay the transaction and inspect what happened inside the virtual machine.
See Debugging with TVM Retracer for details.